April 21, 2012

Kitchen Before and After!

Evan and I have slowly but surely been redoing our little kitchen.  When we first bought the house, it was on the top of the list of rooms to fix up, considering how ugly it was! Old brown cabinets with pinkish tiles and light green paint, cheap countertops that didn't actually fit the space and an old beat up sink.  Ugo. Our redo was super cheap, here's the breakdown:

1 gallon of high gloss white paint: $30
Stain blocker: $10
Countertop from Ikea: $100
Sink from Craigslist: $30
Tiles/mastic/grout from Craigslist: $30
Pendant lamp from Craigslist: $10
Tiling tools, paintbrushes etc: $40
New knobs: $10
Curtains made from Anthropologie bed skirt: $10
Total: $270!

There were, of course, a few extra purchases, including a jigsaw which we figured we would need in the long run which I will not include in the total.  There is still more to do (painting mostly, and more tile to remove!) but we're getting there! 


BEFORE, blech

After! Yay!

The cats have found a new place to hang out

April 6, 2012

Risotto ai funghi

I love making risotto, particularly after a long stupid day of work filled with stupid Bro quotes (see my twitter for proof).  Standing over the stove slowly adding broth and stirring is cathartic and relaxing, and its a meal that I genuinely feel invested in when it's done. Talk about a labor of love. Now that the weather is warming up, it's unlikely I'll be making this for a while (see: standing over the stove), but it's worth sharing the recipe.
I’ve really only used one recipe, though I tweak it a bit here and there, from Mark Bittman.  I also use pearled barley instead of Arborio rice, which for some reason makes me feel a bit better about this indulgence since I’m getting a whole grain in the meal.  I’ve also been reading up on risotto and the steps, which each have a beautiful Italian name that I will share with you as well!

Risotto ai funghi

A bunch of mushrooms, I use baby bellas and shitake, brush them off, don’t wash them!*
Olive oil
2ish tablespoons of butter
½ large onion, diced (I usually use more because I love onions)
1 clove garlic, minced
Thyme, sage (pinch of each)
1 cup pearled barley
4 cups broth
Salt and Pepper (to taste)
½ cup white wine (optional, and you can also use some white vinegar with water)
½ cup of cheese (I always use way more than that), parmesan and pecorino are of course delish


Start by prepping your ingredients.  Once you’ve started the actual risotto, you won’t be able to step away to do anything else.  You won’t WANT to step away to do anything else!

Cut up the mushrooms and sautee in the pan over medium heat.  I use very little olive oil, because mushrooms have so much moisture in them (they're about 90% water!) you only need enough to keep them from sticking when you first put them in the pan.  Cook them until they are brown, and put them in a separate bowl.

Put your broth in a sauce pan on the stove, bring to a boil and then lower to a simmer.  You don’t want to add cold broth to your risotto, so be sure it stays warm.

Grate your cheese, dice your onions, mince your garlic.

Step one: Soffrito “sweating”
Put the butter in the pan and melt it down.  Add your onions and sweat and stir them for about 4 minutes until they are just becoming translucent.

Step two: Tostatura “roasting”
Add the barley and stir it around in the butter onion mix until they are all shiny and coated.  Then you can add the garlic, and the spices, and continue to stir.

Step three: Deglaze (not Italian, oh well)
This step is sort of optional, but is good to clean your pan if it has any brown parts on it.  Pour in the wine and use it to scrape the pan clean, and then let it bubble away until there is barely any liquid left.  It’s good to add some wine either way, so you have some acid in the mix.

Step four: Cottura “cooking”
Now the fun begins.  Start adding broth, one ladleful at a time, to the barley.  Stir it continually.  I like to scrape the sides, stir the middle, and then use the back of my spoon to spread it all flat on the bottom of the pan.  But you can do whateva’ you want.  Add another ladleful when the liquid is just about gone.  You don’t want the barley to be dry, but you don’t want it sitting in a lot of broth for a long time either. Continue this step over and over, and start tasting the barley after about 15 minutes.  You want it to be al dente.  Sometimes you might need a little more than 4 cups of broth, sometimes less.  Use your judgment.

Step 5: Mantecatura “creaming”
Now add the cheese, mushrooms and if you’re feeling extra decadent, a little more butter. STIR STIR STIR and TASTE TASTE TASTE. Add salt and pepper as needed, then let it sit for a few moments. 

Serve immediately with a little extra parmesan on top. 


*You don’t want to wash your mushrooms.  According to The British Mushroom Bureau (HA! Those crazy Brits!)  "all you need to do is give the mushrooms a wipe with a damp cloth or a quick rinse. It's true that they will absorb water and the more water is absorbed the lower the flavour. This is because they are neither a fruit nor a vegetable so do not have an outer skin like an apple for example, and, as a result, will absorb water. You should never soak, peel or remove the stalk."  There's no arguing with that, they seem pretty serious.

Also, I learned recently that keeping them in an open mason jar in the fridge helps keep them fresh for so long! Plus it looks pretty 

January 28, 2012

Cast iron skillet! German Pancakes!

I received a cast iron skillet for Christmas, and I can honestly say HOW DID I COOK WITHOUT ONE?! I love it. I love it so much. I want to make everything in it all the time.

The other night I decided to make what in my family we called German Pancakes.  Who knows if that is actually what they are, but it is simple, and it bubbles up beautifully and is a delicious warm winter treat.

4 eggs
1 tablespoon sugar
1/2 teaspoon salt
2/3 cup flour (I used whole wheat, but white would work just as well)
2/3 cup milk
2 tablespoons soft butter

Preheat the oven to 400 degrees.  Put the eggs in the blender and blend until it's a light yellowish color.  Turn it down a notch and continue to add the other ingredients until it's smooth.  Poor the batter into the cast iron skillet of magical wonder and put in the oven.  After 20 minutes, turn the heat down to 350 and cook for another 10 minutes.  We top ours with warmed cinnamon brown sugar apples and vanilla yogurt, but really anything would work!


January 22, 2012

How to make bread: Honey Whole Wheat

Yesterday we got our first 'real' 'snow' here in Philadelphia, which meant an evening holed up in our little casa, a fire in the stove, and fresh bread in the oven!

This is one of my favorite recipes, that I've been tweaking here and there for the past few years.  At first I was skeptical, as there is no resting time for the yeast in warm water, which is how my mom always started bread, but I promise, it works!

Oatmeal Toasty Awesome Yummy Bread

4 cups HOT water (I heat it in a kettle)
2 1/2 cups old fashioned oats (not quick oats)
1/2 cup wheat bran, I sometimes add some ground flax as well
1/2 cup honey (the original post calls for brown sugar, but I am obsessed with honey)
1/2 stick of butter

1 tablespoon dry active yeast
6-7 cups whole wheat flour, bread flour is best

Old dough (I'll explain in a bit)

Combine oats, wheat bran, honey and butter in a large bowl.  Add the hot water and stir until combined and let it sit until it's about 80 degrees, about 30 minutes.

In a separate bowl, combine the yeast and 2 cups of flower and mix it into the oat mixture.  Continue stirring in flower, one cup at a time, until a soft dough forms.  You might use 4 cups, you might use more or less, just use your best judgement.

Transfer to a floured surface and knead for at least 8 minutes (use them muscles!).  You'll have a beautiful warm ball of dough:


Cover the dough with the bowl and let it sit for 20 minutes.  This is when the yeast grows and eats and becomes happy.

Knead in salt and the old dough at this point for about 5 minutes. Old dough is simply that, dough from past batches.  I've been using old dough that I started in 2008! By saving a small bit of dough from the previous batch of bread and adding it in before the first ferment, you've added prefermented yeast, which gives your bread better flavor and helps it rise.  It also improves your crust and the older it is, the better. It's a method used a lot in sourdoughs, and some strains of yeast can be traced back for generations!  So now, each of my loaves of honey whole wheat bread have a bit of yeast from 2008!


After you've kneaded in the old dough and salt, you are back to a nice ball of dough.  My mom taught me to slam the ball down on the board a few times to help force out any air bubbles.  It's a nice way to get out any agression. Sprinkle flour into a bowl (wooden bread bowl is something on my list of must haves, it's like the cast iron skillet for baking- the more seasoned, the better it is) and place the dough in it.  Dust with flour and cover with a damp tea towel.  I placed mine near the stove because the kitchen was just too cold.  You want to be sure it is an a warm (but not HOT or else it will start cooking) place so the yeast can continue to grow.  

This is the FERMENT stage. This is when the yeast really goes to town eating up the sugars.  Let it sit for 1 to 1/12 hours.  The dough will be ready when you can stick your finger in about two knuckles deep and it doesn't spring back. 


After the fermentation stage, cut off a chunk for old dough if you so desire, and split the rest in two.  Form the dough into loaves and place in greased loaf pans. 


Now is the PROOF (second rise).  Cover the pans with a damp tea towel and let rest for another hour ish.  Apply the same finger rule, but keep in mind the dough will not rise nearly as much this time.
Bake at 375 degrees for 35 minutes, or until the tops are golden brown and if you knock on the top or bottom with a wooden spoon it sounds hollow.  

Remove from the pans and let cool on a wire rack.  THIS IS THE HARDEST PART.  You must let it sit for about 40 minutes or else it might be a big doughy in the middle.  Last night, we could not resist, and cut into it early.  It's ok, it still tastes amazing :)


This is a great bread for thick slices of toast, topped with butter!

January 7, 2012

Oil face

My newest OBSESSION!

Well, it’s not that new.

I got obsessed a few months ago.

But didn’t blog about it.

So, it’s more like My Many Months Old Obsession!

As you know, I like eco-friendly things. And I like home remedies. And I like CHEAP stuff.  So, when these three things collide I fall in love (hello, vinegar). And such is the story with CASTOR OIL. I (not so) recently read up on using oil as a part of one’s beauty routine and all the benefits therein.  I realize as Americans the idea of using oil on one’s FACE sounds like pure torture, especially considering all the time and money we spend trying to RID our skin of it.  But think about it, why would we want to completely obliterate something that naturally occurs in our body? Couldn’t it have positive use and a reason for happening? Skin produces oil, we know that, and sometimes it feels like your face was rubbed in a plate of greasy fries, and all you want to do is de-grease your face.  Oil (in our minds) equals zits equals utter shame and embarrassment (or just a little).  Have you ever had a breakout, and washed your face multiple times a day trying to dry them buggers out, only to have more breakouts happen?  When your skin is stripped of its natural oils it goes into OVERDRIVE trying to replace what’s missing, hence making your skin a million times more oily (slight exaggeration).  Your skin needs oils in order to stay fresh and healthy.  It helps push out gross stuff, and keeps your skin resilient and moist from within.

Using oil to cleanse your face is really very cool.  I won’t attempt to speak as though I am a face oil scientist (FOS) but I can say in my research I understood this simple fact: certain oils will actually dissolve other oils and will gently remove them without drying out your skin. Pure magic. 

So, what oil are we rubbing so happily on our faces?

Here enters our new friend, Castor Oil.

Castor oil has been used for ages as a homeopathic cure for constipation.  Which, makes it a bit funny when you go the pharmacy and say “Hello Dr. Pharamacist, I need some castor oil FOR MY FACE!” Look in the laxative section and you will see it.  It’s cheap, which will make you love it more.  And has multiple uses!

It is an anti-inflammatory oil, which is one of the reasons it helps with breakouts.  It works its way into the pores, dissolves the excess oil, and helps to calm the skin. Or, as the FOS would tell you, castor oil “penetrates deep into the skin due to its molecular mass, which is low enough to penetrate into the stratum corneum. Castor isostearate succinate is a polymeric mixture of esters with isostearic acid and succinic acid”. Yeah.

 It’s also a good idea to mix in a bit of a secondary oil, like sunflower oil (make sure it is a pure, cold pressed oil).  Since castor oil is so thick, it helps to thin it out a bit. Plus, one like sunflower has fatty acids and is packed with vitamins and nutrients that are also great for your skin.  The mixture is sort of up to you, the oilier your skin, the more castor oil you can add.  It might take a few tries to figure out what you like best.

Ok. Now how is this magical concoction actually used?

I like to do my ‘oil facial’ after a shower.  The hot water and steam help open up your pores so the oil can really get in there and do its work.  Have a washcloth handy.  Pour some of your oil in your hand, and start rubbing it all over your face.  Massage massage massage.  (And OH! It totally removes all makeup -including eye makeup- so there’s ANOTHER bonus!) Focus on problem areas.

After you’ve rubbed it in for a while, take your washcloth and soak it in hot hot water.  Squeeze it out and just lay it on your face. Let the steam help pull shit out of your face and then lightly wipe with the washcloth.  There should still be oil on your face.  Keep massaging it, and repeat the steamy washcloth step until there isn’t really enough oil to repeat the process.  Be sure you don’t SCRUB your face with the cloth, a gentle once over each time is all you’ll need.  Keep in mind your facial skin is very delicate and really should never be treated harshly! Pat dry with a towel and you’re done!

If your skin feels dry after this, you can take a small dab of the castor oil and rub it in and leave it.  The next morning when you wake up, you won’t need to use face wash, simply splashing your face with water will do the trick!

This is not something you should do every day, but a few times a week is perfect.  The first few times you do it, you might say “my skin still feels overly oily” but this is only because you’ve cleared out a lot of junk and plugs in the pores and it takes a while for them to get back in proper working condition. But give it a few tries, eventually your skin will be back in working order the way it should be!

Ok, are you ready for YET ANOTHER WONDERFUL BENEFIT from this magical oil? It’s age fighting! It’s an anti-wrinkle oil! So, if we keep this up ladies, we’ll look like we’re in our twenties FOREVER!

I’ve also used castor to help work out splinters and I rub it on my cuticles at night… it’s magical.

I used the word “oil” 36 times in this post. BOO YA!

December 30, 2011

Relax, here I am

ALRIGHT! I'm back!  Sorry to all 4 of you who have been patiently waiting for me to blog about something.

I've been kind of busy, but finally my life is settling down.  Praise the Lord.  I figured I would do a quick photo post on some updates in our house!


Hello Scooby. 


My homemade wreath, thanks Whole Foods guy for giving me all the cuttings from the bottoms of your trees!


Hello Mae.

October 2, 2011

House Update!

Well, I know it has been a while since I last wrote, but I've been a teensy bit busy! For some reason acquiring a new house and planning a wedding take up a good amount of time.

Excuses aside, Evan and I have made some serious progress on the house! Thought I'd share a few pictures to prove it!

Let's start with some cute pictures of the cats having fun with fire


Yes, it is cold enough now that we used the stove for the first time!

Next up, living room shot.  It's still a bit of a work in progress, mainly because so much of it is brown... My next project is to recover the ottoman- any suggestions?


The dining room! Evan has worked tirelessly on the exposed brick wall, and I think did a fantastic job! We both really love how it looks.

We also painted the entire room white, after spending many weeks going back and forth on other color choices.  We're loving the white though, it feels so much bigger and brighter!


The bedroom update is mainly that we hung the big map haha


That's all for now!

September 5, 2011

Have I told you lately that I love...

VINEGAR?

Oh yes, I am mildly obsessed with the magical stuff.  There is a running joke amongst myself and Evan that in response to any health question/ cleaning question/ general what-do-I-use-for-this question my answer is almost always VINEGAR! Sore throat? drink VINEGAR! Clogged drain? pour VINEGAR!

Vinegar is a great all around unbelievably useful and CHEAP alternative to almost every single thing in your life.  Trust me.
here

One of my favorite things about it is that it is completely safe and natural, which means using it all over the house is ok for pets (or kids, if you have those).  It's naturally disinfecting which is why it can be used to clean the bathroom AND kill a sore throat.

I generally stick to an Apple Cider Vinegar for all things body related and White Vinegar for all else rule.  Also, I "splurge" on the organic raw Bragg ACV (it has more active enzymes and whatnot if it has not been distilled) but buy the cheapo white stuff by the gallon).

Here goes:

ACV:


  • Put a table spoon in a glass of water if you have an upset stomach or feel a cold coming on, or after you've had a lot to eat; it will help settle your stomach, aids in digestion and helps fight colds. 
  • Add a few drops to pet's water; it'll naturally deter bugs, and helps keep their skin and coat healthy.
  • Soak a cotton ball in ACV and smear on your skin if you have acne or eczema.
  • Apparently drinking a bit of it every day helps to lose weight.  


WHITE VINEGAR:


  • If the shower head is not performing at full speed, take it off and soak it in warm white vinegar for about 30 minutes.  It will clear away any build up inside.
  • If your pet had an accident in the house, spraying the spot with vinegar kills the smell, keeping them from going back to the same spot to do their business.
  • Soak/spray wooden cutting boards with a mixture of vinegar and water (I keep a spray bottle under the sink) to kill any germs.
  • Run a mix of vinegar and water through your coffee pot to clean it (which makes for much better coffee, mind you). 
  • Spray the windows and wipe off with black and white newspaper.
  • If the drain is slow, pour some baking soda down it followed by vinegar (remember making volcanos in elementary school? Same reaction).  Run the water about 10 minutes later to clean it out. 
  • Put some vinegar on a clean rag with a few drops of essential oil and throw in the dryer with the wash, eco dryer sheet!

August 4, 2011

INDIA ARIE!

INDIA.ARIE HAS A NEW ALBUM COMING OUT IN OCTOBER! I AM WAY OVERLY EXCITED!


August 2, 2011

House work has begun!

Evan and I closed on the house on Thursday! And almost immediately got to work on it!  I didn't have my camera to take before pictures (damn!) but I did take video... which I will someday edit down and make into something fun to watch... but until then I will steal the pictures from the realtor's site and use some we took when first looking at the house to show some before and during picture comparisons! We have been working non stop, and have almost finished painting  the first and second floors! Plus a few other changes which you will see.

Let's begin:

Before, with someone else's furniture

Living room during! With random bits of furniture.  New paint, new light bulbs (they make a huge difference!) and no ugly 1970's porn mirror above the fireplace

Please forgive the awkward blurry picture in the "office".  It was very dark in there like a cave.  Evan called it "old squash soup" color

Office during! New paint, new light fixture, patched walls, no curtains (yet)

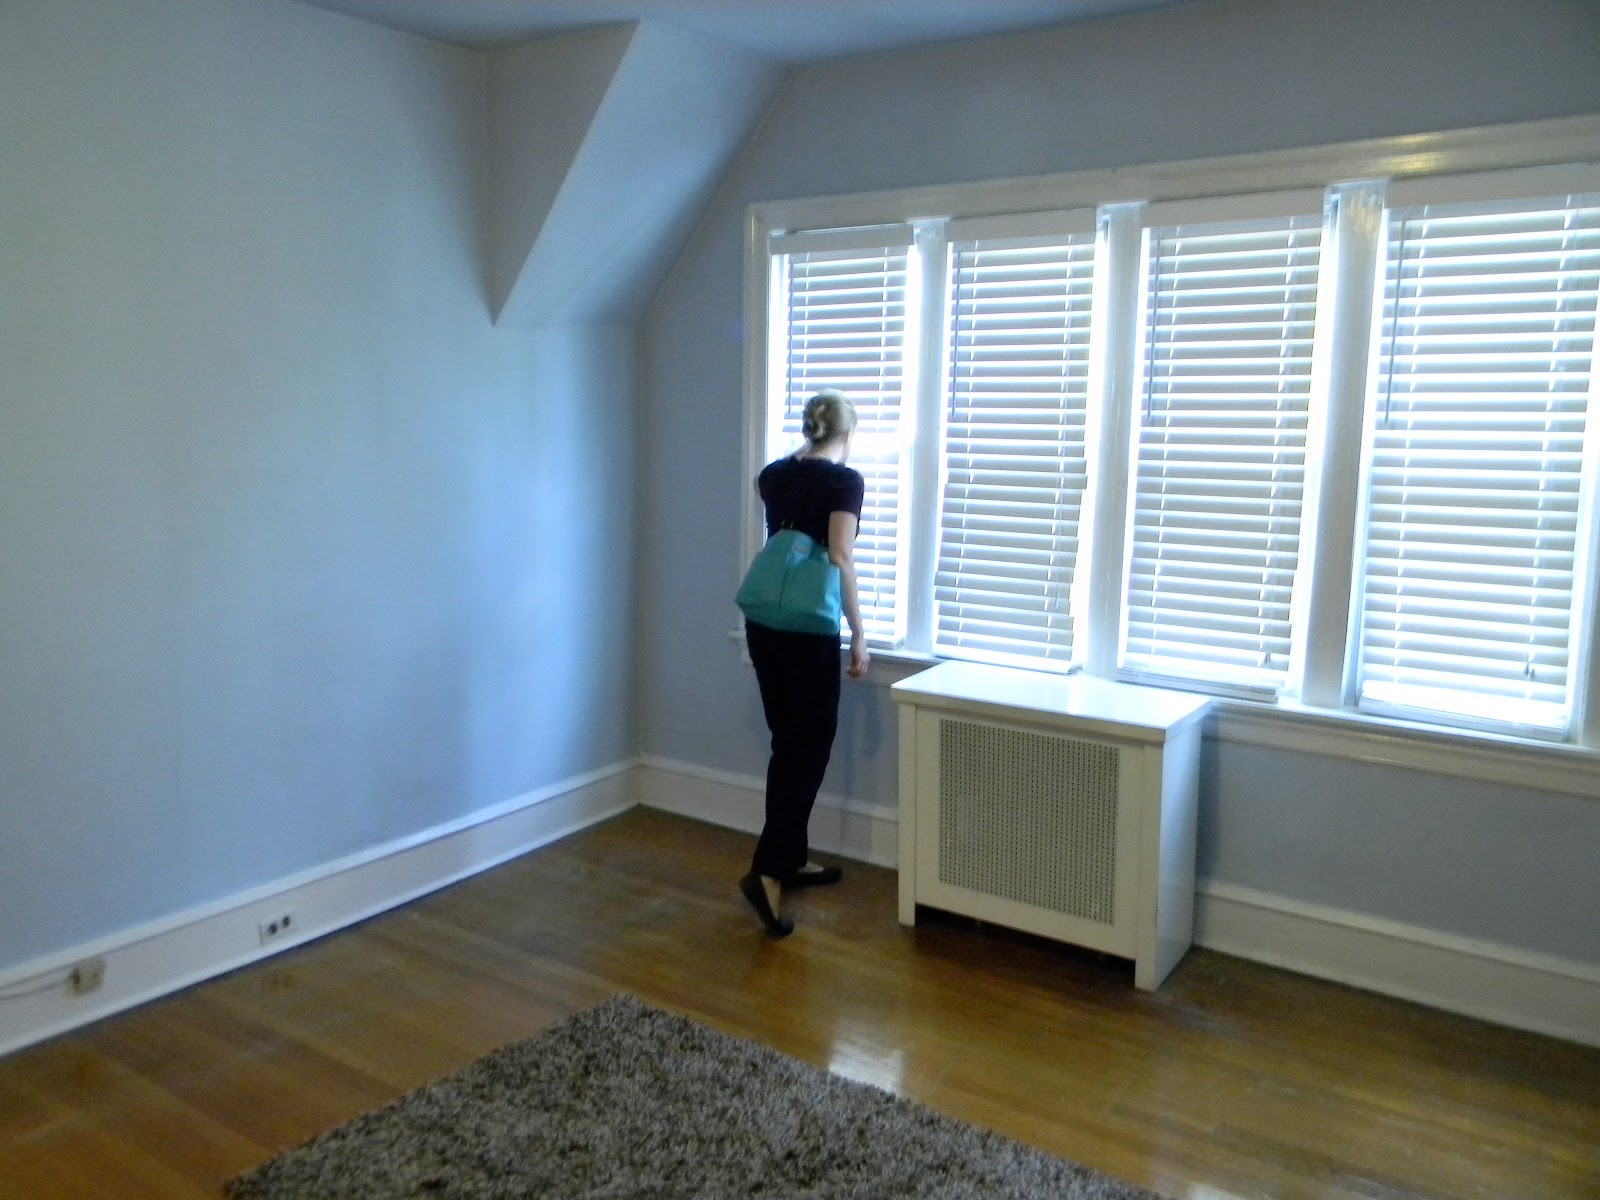
Master Bedroom before

Master bedroom during

Dining room to living room before

Living room to dining room during

Painted walls and hallways.  White trim is the next project

Dining room during.  Evan exposed the brick! New light! Yet to be painted

Porch looking in!

We've made a lot of progress already, but there is so much to do!  We're loving it!